 Pin This
 The gentle scent of rosé always brings to mind late spring afternoons, but I really fell for this Rosé Velvet Cake on a particularly rainy day when pink clouds outside mirrored the velvet layers inside. My kitchen was covered in a dusting of powdered sugar, my playlist softly humming as I experimented with an idea for a cake so festive it would glow at any celebration. There’s magic in watching blush-pink batter swirl to life, and this recipe captures that sense of occasion so beautifully. With a touch of rosé wine and a crowning gold drip, it somehow manages to seem both playful and sophisticated. Each slice feels worthy of a toast—no special reason required.
I’ll never forget the first time my sister’s friends gasped seeing this cake at her bridal shower—the kitchen filled with laughter, buttercream smudges, and everyone angling for the first slice before the gold drip even had a chance to set. It became part of the day, weaving itself into conversations and photo memories, not just a dessert but a centerpiece. The way the light caught the golden edges that afternoon could have made anyone believe they were in a fairytale. Ever since, I've found myself offering to bring this cake as my ticket to any gathering. Its blush color and shimmer are now synonymous with shared celebration in our circle.
Ingredients
- All-purpose flour: Sifting it with the cocoa gives a lighter crumb and helps the blush color really shine through.
- Granulated sugar: Creaming it slowly with butter is the secret to that tender, close-textured crumb.
- Baking soda & baking powder: Using both gives the perfect balance of lift and softness; double-check expiration dates for the fluffiest layers.
- Salt: Just a little brings out all the flavors—don’t skip or the cake falls flat!
- Unsweetened cocoa powder: A small amount for depth, not strong chocolate flavor, and be sure to sift for smooth mixing.
- Unsalted butter (cake and frosting): Quality really matters—choose a creamy butter for that true bakery-style texture.
- Buttermilk: Room temperature buttermilk keeps the cake ultra-moist and helps the color stay bright.
- Rosé wine: Pick a fruity, not-too-dry bottle; leftovers are lovely for sipping while decorating.
- Eggs: Letting them come to room temp makes batter combine evenly and gives maximum rise.
- Vanilla extract: I add a splash extra for warmth and balance.
- White vinegar: This little addition reacts with cocoa for a fresh, velvety crumb—old-school trick with a modern twist.
- Pink food coloring gel: Gel gives the most vibrant blush without thinning your batter; add gradually!
- Cream cheese (for frosting): Offers creaminess and just a tang, softening up the sweetness.
- Powdered sugar: Sift it for the fluffiest, smoothest frosting—no one wants lumps in their celebratory cake.
- Heavy cream (for drip): Use just enough to loosen the chocolate but don’t overdo it or it’ll slide right off the cake.
- White chocolate chips: Melt low and slow for a glossy, smooth drip base that takes color beautifully.
- Edible gold luster dust & vodka or clear extract: Mix into a “paint” for that wow-factor finish, and always use a new food-safe brush for a flawless glimmer.
Tired of Takeout? 🥡
Get 10 meals you can make faster than delivery arrives. Seriously.
One email. No spam. Unsubscribe anytime.
Instructions
- Set the Stage:
- Preheat your oven to 350 °F and line three 8-inch cake pans; hearing that first oven click always tells me something sweet is about to happen.
- Sift & Combine:
- Inhale the chocolatey aroma as you sift together flour, cocoa, baking soda, baking powder, and salt—lumps banished, color ready to bloom.
- Cream Butter & Sugar:
- Let the mixer run until pale and fluffy, scraping the bowl often so every bite ends up tender and even.
- Add Eggs & Vanilla:
- Beat in eggs one by one, then swirl in vanilla; it should smell invitingly sweet at this point.
- Liquid Love:
- Whisk buttermilk, rosé, and vinegar, then alternate adding this with the dry mix, just until everything is smooth and streak-free.
- Color It Blush:
- Add the pink gel slowly, marbling with a spatula until you hit that perfect barely-there hue.
- Bake the Layers:
- Spread the batter into pans (it’s thick and dreamy), bake until a toothpick pulls out clean and the tops bounce gently to a fingertip.
- Cool Completely:
- Let cakes cool ten minutes in pan; I always sneak a peek underneath to ensure no sticking before turning out onto racks.
- Make the Frosting:
- Beat butter and cream cheese smooth, add powdered sugar gradually, then beat in the rosé, vanilla, and salt—it should feel cloud-like.
- Assemble with Care:
- Level cooled cakes, then layer up with generous swoops of frosting, finishing with a “crumb coat” before chilling so all that blush stays polished.
- Create the Gold Drip:
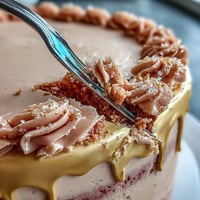
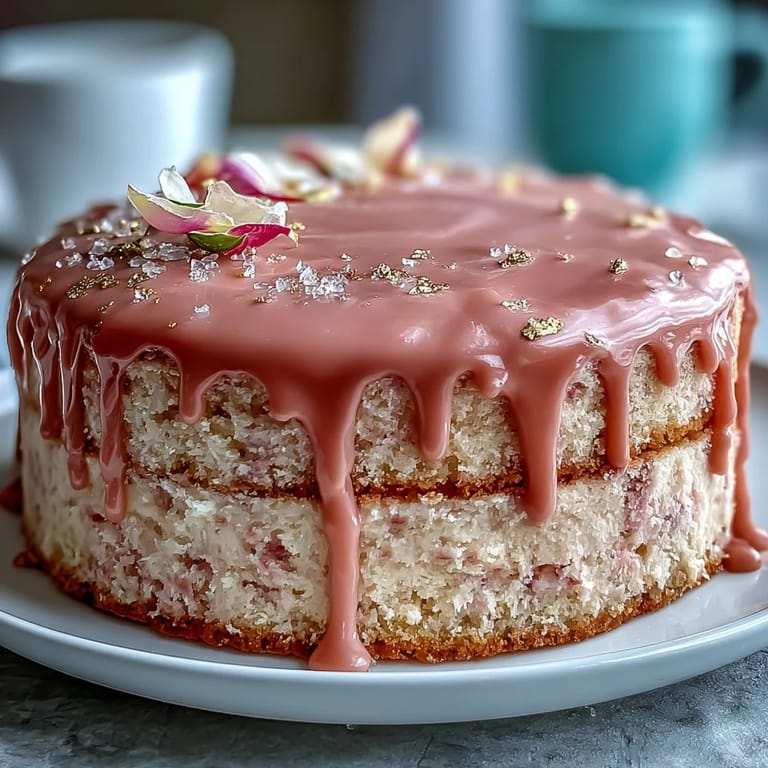
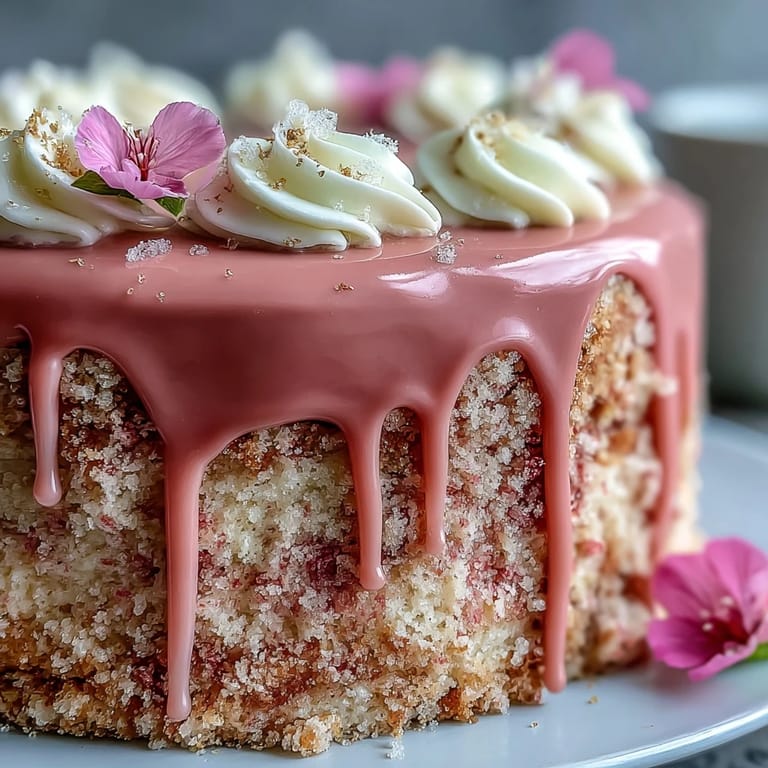
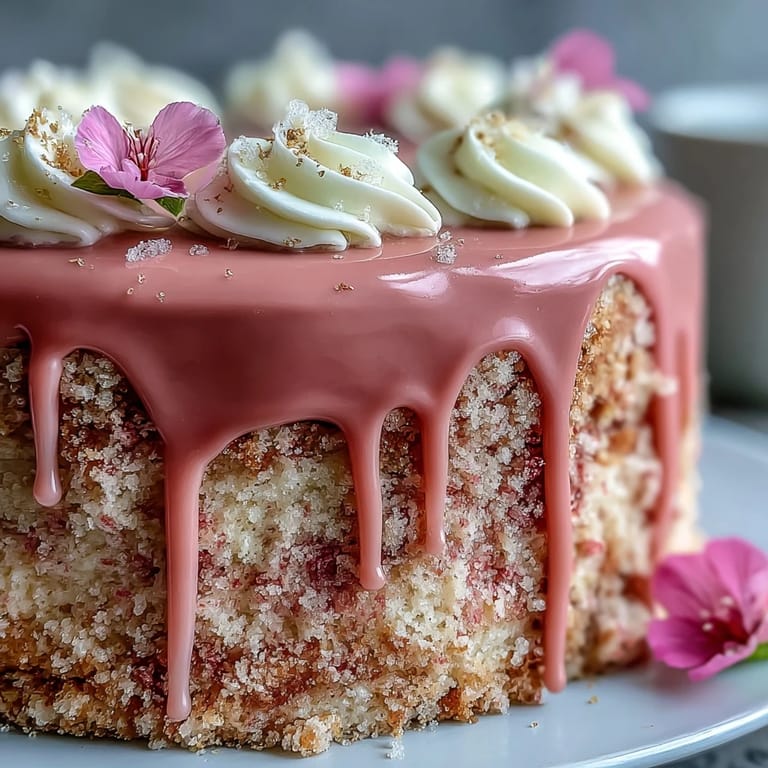
- Gently melt white chocolate and cream, cool, then carefully drip over the frosted cake’s edges for glamor in every drop.
- Paint the Drip:
- Mix gold luster dust with vodka, then use a food-safe brush to turn those drips into edible jewelry—all while quietly admiring your handiwork.
- Chill & Serve:
- Chill the cake at least 30 minutes for clean slicing; it’s always hardest to wait but always worth it.
 Pin This
  Pin This
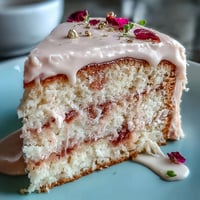
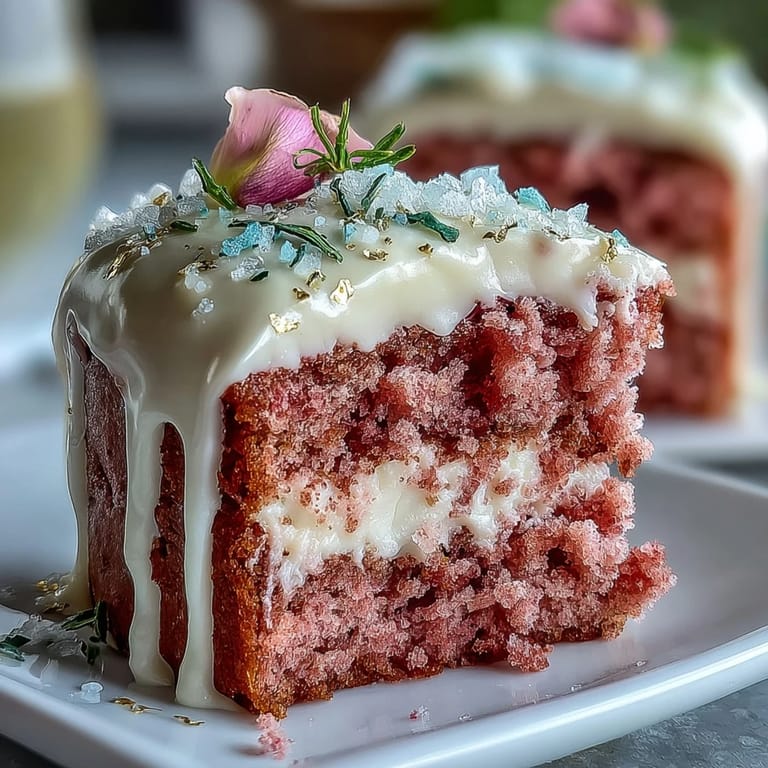
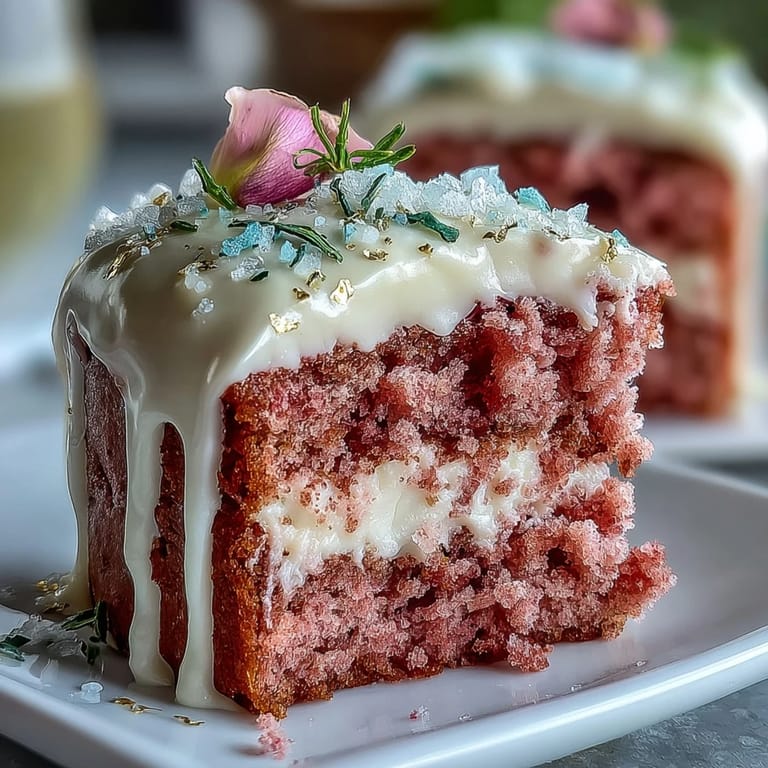
 After slicing into this cake at my best friend’s engagement brunch, the conversation fell away for a moment while everyone just savored the first buttery, floral bite. Suddenly, the room felt closer and brighter, and we all decided then and there that every milestone deserved a little gold and a hint of pink.
Working With Rosé in Cakes
Baking with rosé was a bit of an experiment at first—the key is choosing a bottle with fruity notes and steering clear of anything overly dry or oaky, which can disappear or clash. I’ve found the flavor sings most when balanced by vanilla and just a pinch of cocoa, accentuating the blush and aroma without taking over.
Creating a Perfect Gold Drip
I used to worry about my drips looking messy, but the secret is letting the chocolate drip mix cool just enough that it holds its shape along the chilled cake’s edge—and always, always practice on a bowl before the real thing. Swirling on the gold luster paint truly feels like magic, but lift your brush gently to keep the finish smooth and seamless.
Make-Ahead & Presentation Tricks
It turns out this cake develops even more flavor if you assemble and frost it a day ahead, storing it in the fridge under a loose layer of wrap to preserve the details. Decoration is a chance to get playful—scatter edible flowers, fresh berries, or a little extra gold leaf for a cake that looks almost too good to slice.
- Edible flowers pair beautifully if you’re going for a whimsical vibe.
- Refrigerate any leftovers tightly covered to keep the crumb tender.
- Wipe your knife between cuts for bakery-clean slices in every piece.
 Pin This
  Pin This
 Baking this cake taught me that a little shimmer, both in food and in life, goes a long way. May your celebrations always be this sweet and just a little bit golden.
Recipe Q&A
- → Can I make this alcohol-free?
Yes — substitute the rosé wine with sparkling grape juice or a simple sugar syrup flavored with grape juice. Brush layers lightly to retain the bright rosé note without alcohol.
- → How do I get an even blush-pink color?
Add gel food coloring a little at a time to the batter until you reach the desired shade; gel concentrates color without thinning the batter. Fold gently to keep the crumb tender.
- → How do I prevent a runny gold drip?
Allow the white-chocolate ganache to cool until slightly thickened before dripping; chill the cake briefly after a crumb coat so the drip sets on contact. Use small amounts and test on the edge first.
- → Best way to achieve smooth frosting and clean layers?
Level layers with a serrated knife or cake leveler, apply a thin crumb coat and chill 20–30 minutes, then finish with a thicker frosting layer using an offset spatula for smooth sides.
- → How should I store and transport the finished cake?
Keep chilled in a covered container; for transport, place on a non-slip mat in a cool vehicle and avoid direct sunlight. Chill again on arrival before serving to set the gold drip and frosting.
- → How do I make and apply the gold paint safely?
Mix edible gold luster dust with a small amount of clear alcohol or clear extract to a paint-like consistency, then use a clean food-safe brush to paint the set chocolate drip. Allow to dry before chilling.