 Pin This
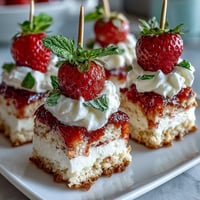
 My kitchen smelled like cinnamon and melted butter the morning I first attempted these bars, a last-minute idea born from staring at leftover cream cheese and suddenly remembering a king cake from New Orleans years ago. I wanted something that captured that festive chaos, those wild purple and green colors, but in a form I could actually serve without worrying about the filling sliding everywhere. The result was part happy accident, part intentional fusion, and entirely worth the happy mess of swirled batters I made along the way.
I brought these to a potluck where someone actually gasped when they saw the colors, and I felt ridiculously proud for about two seconds before realizing I'd forgotten to tell everyone about the tiny plastic baby hidden inside one of them—Mardi Gras tradition meets modern kitchen chaos. Watching people hunt through their plates looking for it, laughing the whole time, reminded me why making food for others matters so much more than how it turns out.
Ingredients
- Graham cracker crumbs: They give you that buttery, slightly sweet foundation that holds up beautifully without getting soggy, and the cinnamon mixed in is where the king cake magic starts.
- Unsalted butter: I learned the hard way that salted butter can throw off the balance here, so unsalted lets you control the seasoning completely.
- Cream cheese: Room temperature is non-negotiable if you want a smooth batter without lumps that ruin the swirl effect.
- Sour cream: This is the secret that keeps the cheesecake tender and tangy instead of dense, and it's why these bars feel special.
- Gel food coloring: Don't skip this for regular liquid coloring, I made that mistake once and ended up with watery batter that wouldn't swirl properly.
- Powdered sugar and milk for icing: A thin glaze drizzles perfectly over the cooled bars without obscuring those gorgeous colors underneath.
- Sanding sugar: This is pure decoration but it catches light and makes everything feel more festive, which is the whole point.
Tired of Takeout? 🥡
Get 10 meals you can make faster than delivery arrives. Seriously.
One email. No spam. Unsubscribe anytime.
Instructions
- Toast and bind your crust:
- Preheat your oven to 325°F and line your 9x9-inch pan with parchment paper, giving yourself plenty of overhang so you can lift the whole thing out later without regret. Mix graham cracker crumbs with sugar, cinnamon, and salt, pour in the melted butter, and work it together with your fingers until it feels like wet sand, then press it firmly into the bottom of the pan and bake for 10 minutes until it's just set but still pale.
- Build your creamy layer:
- Beat softened cream cheese and sugar until it's completely smooth with no lumps hiding anywhere, then add eggs one at a time and let the mixer do its work after each one. Fold in sour cream, flour, vanilla, and almond extract gently until just combined, because overworking this batter makes the cheesecake crack.
- Divide and tint your batter:
- Scoop the cheesecake batter into three bowls and add a different gel food coloring to each one—purple, green, and yellow-gold—stirring each until the color looks even and vibrant. The colors should look almost too bright, because they'll soften slightly during baking.
- Create your marbled masterpiece:
- Drop spoonfuls of each colored batter randomly across the cooled crust, then take a knife or skewer and drag it through the colors in loose, sweeping motions without overthinking it. You're going for that organic, chaotic swirl that looks intentional but natural, not a perfectly blended gradient.
- Bake until just set:
- Slide it into the oven for 35 to 40 minutes until the edges are firm but the center jiggles slightly when you gently shake the pan, then let it cool completely before wrapping and refrigerating for at least 4 hours. This waiting period is crucial because a warm cheesecake bar falls apart, but a properly chilled one holds its shape with dignity.
- Finish with glaze and sparkle:
- Whisk powdered sugar with milk and vanilla until you have a thin, pourable glaze, drizzle it over the chilled bars in whatever pattern feels right, and top with purple, green, and gold sanding sugar while the glaze is still tacky so it sticks. Let the glaze set for a few minutes, then slice into squares and serve, knowing you've created something that tastes as good as it looks.
 Pin This
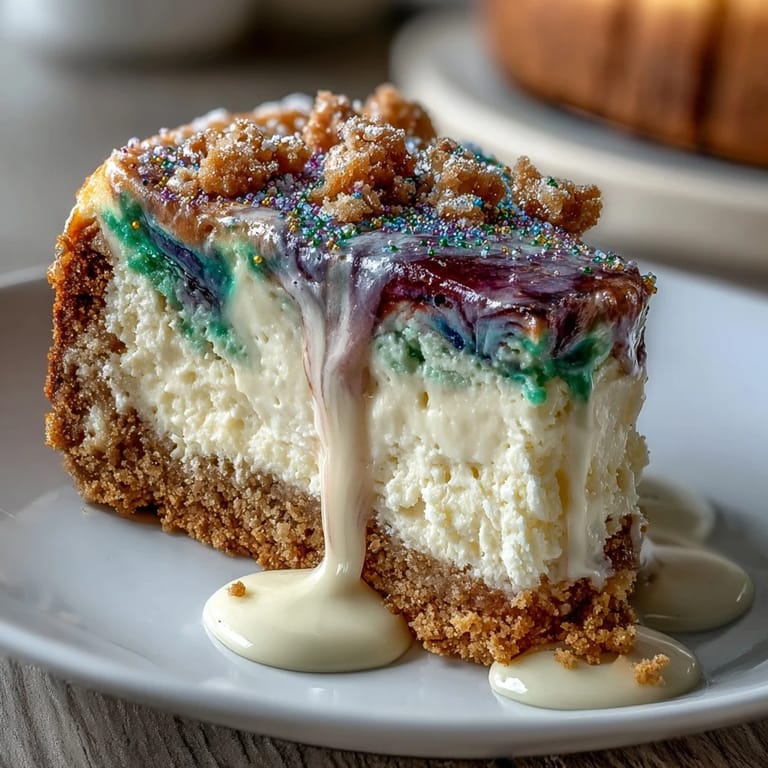
 There's a moment when you pull these bars from the oven and see those colors glowing under the kitchen light, still vibrant and slightly soft, and you know you've made something that exists somewhere between dessert and art. That feeling, the one where food becomes a small celebration in itself, is worth every minute of prep.
The Crust Secret
That initial 10-minute bake for the crust isn't just tradition, it's the difference between a soggy bottom and one that stays crispy even after hours of chilling. I discovered this after my first attempt turned into a somewhat mushy base, and now I never skip it no matter how impatient I feel.
Swirling Without Stress
The secret to confident swirling is accepting that perfect isn't the goal—chaotic and colorful is exactly what you want, and every drag of your knife creates something slightly different. I used to stress about making it look too deliberate, but the moment I stopped caring about perfection, the results actually looked better.
Making It Your Own
These bars are forgiving enough to adapt based on what you have and what speaks to you, whether that's changing the crust base or experimenting with different color combinations that match your mood or occasion. I've made versions with vanilla wafer crusts, different color schemes for other holidays, and once even added a tiny hint of orange zest to the cheesecake layer because I was feeling it that day.
- You can swap graham crackers for vanilla wafers, digestive biscuits, or even crushed ginger snaps if you want to venture into different flavor territory.
- Make these up to three days ahead and store them covered in the fridge, so they're perfect for parties where timing matters.
- If you're not doing the plastic baby tradition, these still feel festive and special without any Mardi Gras theme—they're just naturally celebratory desserts.
 Pin This
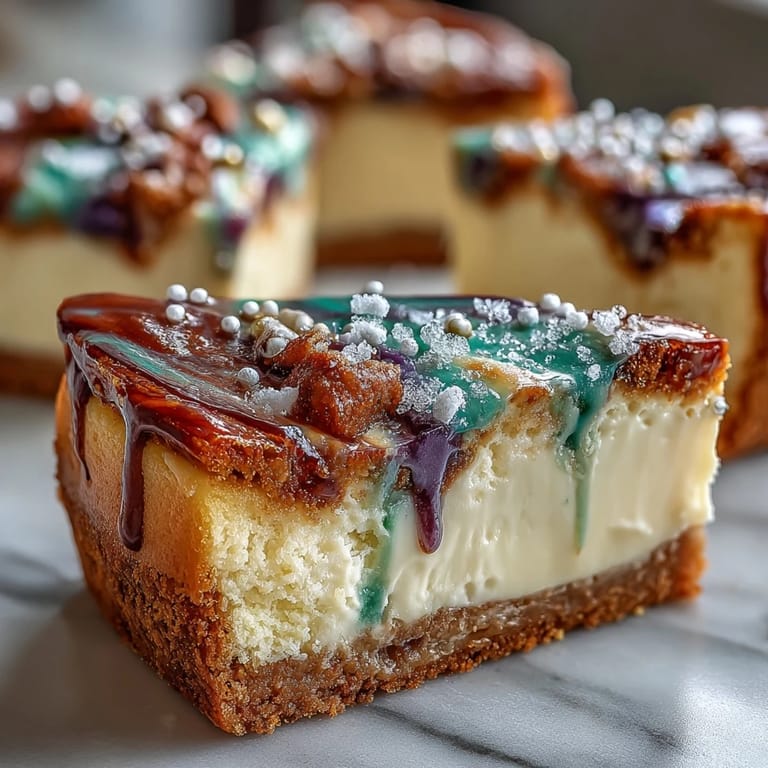
 These bars taste like joy tastes like Mardi Gras and celebration and the specific happiness of biting into something creamy and colorful all at once. Every time I make them, I'm reminded that the best recipes aren't the complicated ones, they're the ones that make people smile.
Recipe Q&A
- → How do I achieve the vibrant swirl colors?
Use gel-based food coloring in purple, green, and gold for bright, vivid swirls without thinning the batter.
- → Can I substitute the crust ingredients?
Yes, graham cracker crumbs can be replaced with vanilla wafers or digestive biscuits for a different flavor and texture.
- → What is the best way to create the swirled effect?
Drop spoonfuls of colored batter randomly onto the crust and gently swirl with a knife or skewer, avoiding overmixing for a marbled look.
- → How long should the bars be chilled?
Chill the baked bars for at least 4 hours or overnight to allow proper setting and easy slicing.
- → Are there allergen considerations to keep in mind?
These bars contain milk, eggs, and gluten. For nut allergies, omit almond extract and verify ingredients carefully.