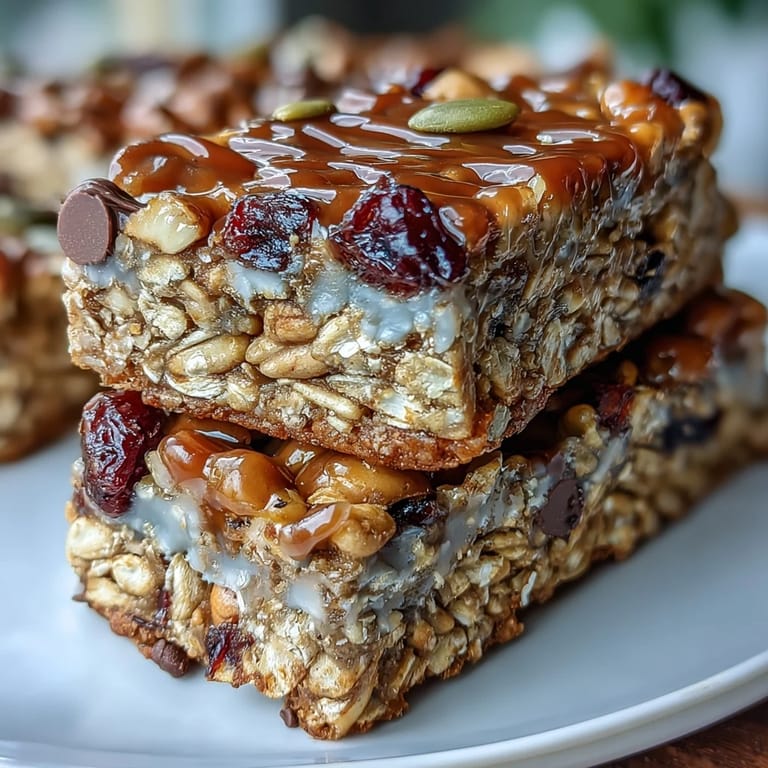
 Pin This
 My gym buddy brought these to our early morning workout last spring, and I was immediately skeptical about trail mix bars—until I bit into one and realized she'd cracked some kind of code. They were chewy without being dense, sweet without being cloying, and somehow felt substantial enough that I wasn't raiding the office snacks an hour later. I asked for the recipe that same day, and what started as casual curiosity turned into my go-to Sunday afternoon project whenever I needed a snack that actually tasted like something instead of guilt.
I made these for the first time during a rainy afternoon when my roommate mentioned she was tired of store-bought granola bars. The kitchen smelled incredible—that warm honey-butter combination hitting the air the second the saucepan came off heat—and by the time they cooled, she'd already claimed half the batch before they were even cut. That's when I knew these were the real deal.
Ingredients
- Old-fashioned rolled oats (2 cups): These are the backbone, giving you that chewy texture that keeps these bars from turning into hard pucks by day three—don't swap for quick oats or you'll end up with something mushy.
- Mixed nuts, chopped (1/2 cup): Almonds, walnuts, pecans—pick what you love because these add the crunch and richness that makes each bite feel intentional.
- Sunflower or pumpkin seeds (1/3 cup): These contribute a subtle earthiness and keep things interesting texture-wise, plus they're way cheaper than buying ten different add-ins.
- Dried cranberries or raisins (1/2 cup): The tart-sweet element that prevents these from tasting one-dimensional, and they plump up slightly during baking which is lovely.
- Mini chocolate chips, optional (1/4 cup): Skip these if you want purely wholesome, or go all-in if you want that tiny hit of indulgence in every bite.
- Honey (1/3 cup): This is your binding agent and the reason these stay soft—use real honey, not the squeeze bear, because it actually behaves differently when heated.
- Unsalted butter (1/4 cup): Melted into the honey, this creates a rich base that makes everything stick together without tasting buttery or heavy.
- Light brown sugar, packed (1/4 cup): The molasses in brown sugar gives subtle depth and helps with that chewiness factor.
- Vanilla extract (1/2 tsp): A small but crucial detail that rounds out the flavor so nothing tastes one-note.
- Salt (1/4 tsp): This tiny amount does the heavy lifting of making every flavor pop instead of sitting flat on your tongue.
Tired of Takeout? 🥡
Get 10 meals you can make faster than delivery arrives. Seriously.
One email. No spam. Unsubscribe anytime.
Instructions
- Set the stage:
- Preheat your oven to 350°F and line your 8-inch square pan with parchment, making sure that paper hangs over the edges a bit—this is your future handle for lifting these out without them crumbling.
- Combine all the dry pieces:
- In a large bowl, mix together your oats, nuts, seeds, dried fruit, and chocolate chips if you're using them. This is where you can eyeball amounts based on what you love—there's flexibility built into this formula.
- Create the golden mixture:
- Melt butter, honey, and brown sugar in a small saucepan over medium heat, stirring occasionally until you get a smooth, glossy consistency. Remove from heat, add vanilla and salt, then let it cool for just a minute so it's still warm but not so hot it'll cook anything prematurely.
- Bring everything together:
- Pour that wet mixture over your dry ingredients and stir until every oat, nut, and seed is coated in honey-butter goodness. This takes a couple of minutes of actual attention, so don't just give it one halfhearted stir.
- Press and compact:
- Transfer the mixture to your prepared pan and press it down firmly using a spatula or your hands—the pressure creates the bars' structure and ensures they hold together when you slice them. Uneven pressing leads to crumbling, so take a breath and be thorough.
- Let the oven work:
- Bake for 18 to 20 minutes, watching until the edges turn a light golden brown. The center will still look slightly underbaked, and that's exactly what you want because it sets up as everything cools.
- Cool with patience:
- Let them cool completely in the pan—this is non-negotiable if you want bars instead of crumbles. Once fully cooled, lift out using those parchment edges and cut into twelve roughly equal pieces with a sharp knife.
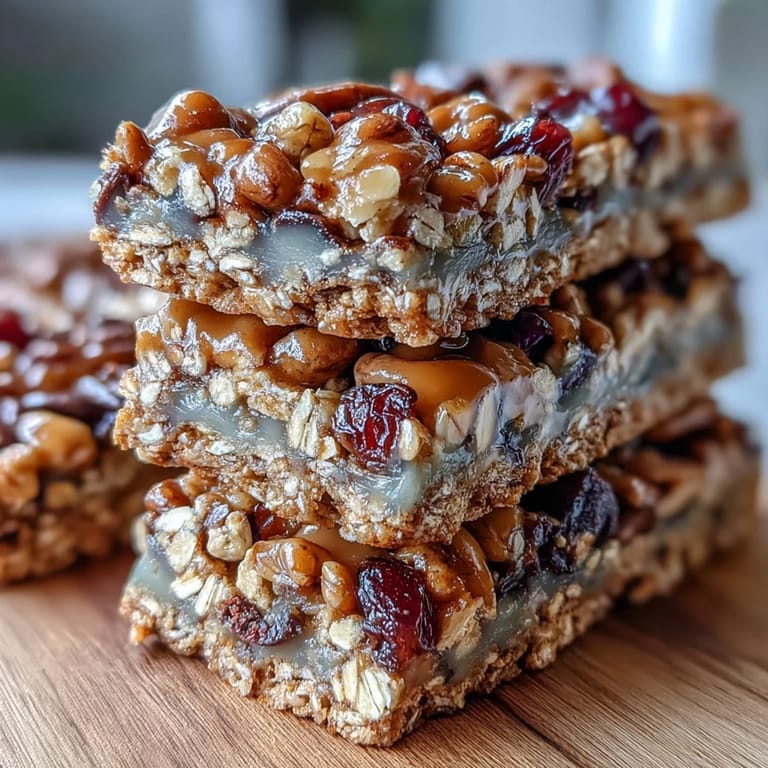 Pin This
 These bars became my answer to every casual office potluck because they looked homemade without requiring you to wake up at 5 AM, and people always asked for the recipe. There was something satisfying about sharing something that felt special but wasn't pretentious or complicated.
Making These Your Own
The beauty of this recipe is that it's a framework, not a mandate. I've made versions with dried apricots and cashews when someone mentioned a tree nut allergy, and the bars were just as good. I've also gone full desert rose and added dried cherries with pistachios, which felt fancy for a Tuesday snack. The only real rule is to keep the total dry ingredient weight roughly consistent so your ratios stay balanced.
Storage and Keeping
These keep beautifully in an airtight container on your counter for a week, though honestly they rarely last that long in any house I've been in. The parchment-lined method makes storage easy—just stack them with parchment between layers and they stay chewy, not dry. For longer storage, you can freeze them for up to a month, and they thaw at room temperature without losing their texture or flavor.
Variations and Adaptations
I've gone vegan with these multiple times using coconut oil instead of butter and maple syrup instead of honey, and the result is nearly indistinguishable from the original. The bars come out slightly less golden and maybe marginally less rich, but still completely satisfying. You can also drizzle melted chocolate over the cooled bars for something closer to a candy bar experience, or press some dark chocolate chips into the surface right when they come out of the oven for a more integrated look.
- Swap dried fruit based on season or what's on sale—dried mango, figs, and dates all work beautifully here.
- Toast your nuts in a 350°F oven for 8 minutes before chopping if you want to amplify their flavor and add a subtle crunch.
- If these are for kids, go lighter on the chocolate and heavier on fruit for something that feels wholesome rather than indulgent.
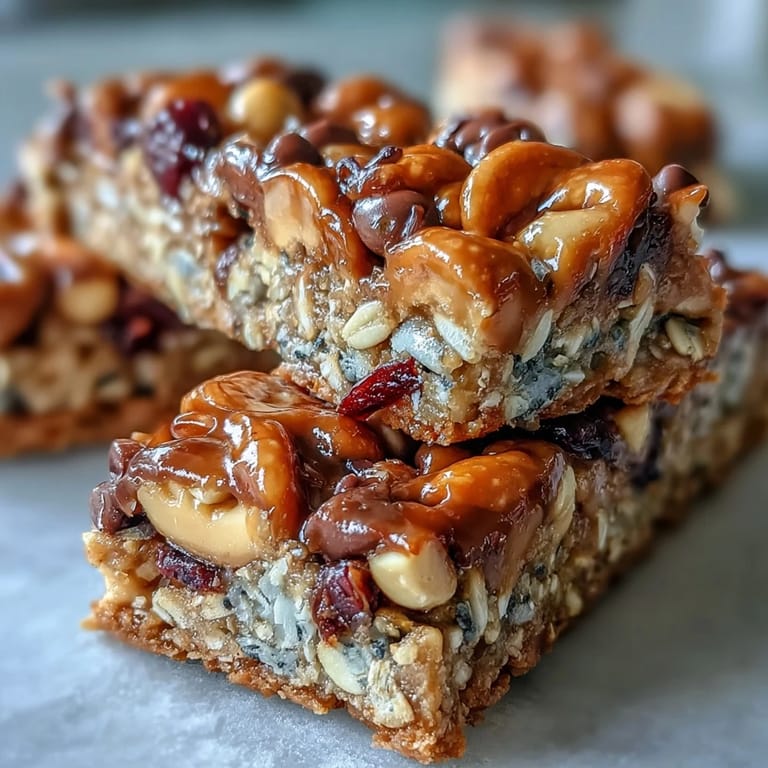 Pin This
 These bars are the kind of recipe that rewards you for minimal effort with maximum payoff. Once you've made them once, you'll find yourself returning to this formula again and again because it simply works.
Recipe Q&A
- → What nuts work best in these bars?
Almonds, walnuts, and pecans add a great mix of crunch and flavor, but feel free to swap or combine your favorites.
- → Can I replace the honey with another sweetener?
Yes, maple syrup or agave nectar offer good alternatives, especially for vegan versions.
- → How do I keep the bars from falling apart?
Ensure the wet ingredients are well combined and evenly coat the dry mixture; press firmly into the pan before baking.
- → Are these bars suitable for a vegetarian diet?
Yes, they include honey and butter but no meat or animal flesh products.
- → How should I store leftovers?
Keep bars in an airtight container at room temperature for up to one week to maintain freshness.
- → Can I add chocolate chips to these bars?
Yes, mini chocolate chips enhance sweetness and texture; add them with the dry ingredients before mixing with wet.