 Pin This
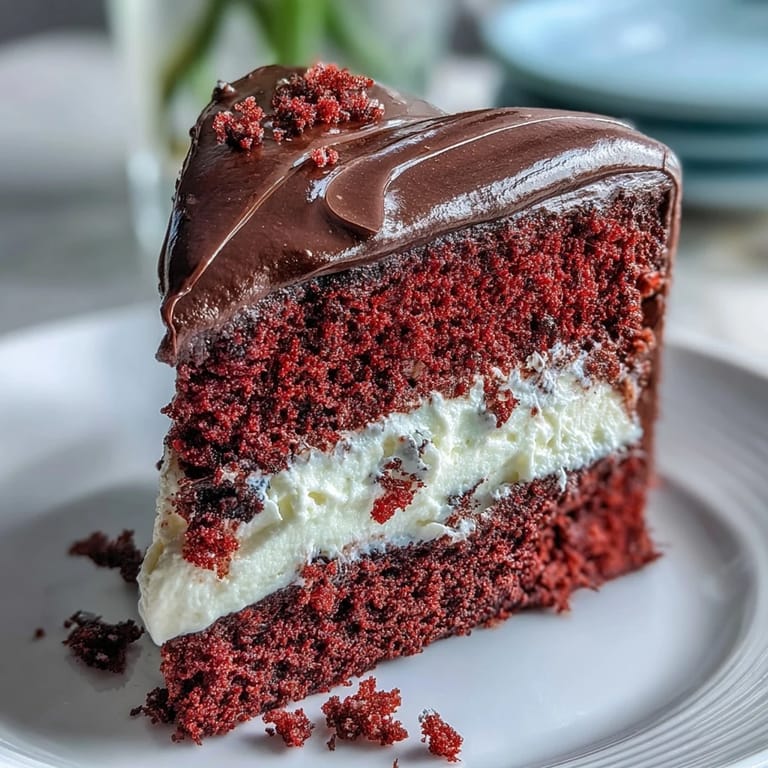
 The first time I attempted a red velvet cake for Valentine's Day, I ended up with pink cupcakes because I was too afraid to add enough coloring. This heart-shaped version became my redemption story years later when I finally understood that red velvet deserves to be unapologetically bold. My kitchen smelled like chocolate and nostalgia while these layers baked, and something about that deep crimson crumb feels like letting romance take over the oven.
I made this for my best friend's engagement party and watched her face light up when she saw Betty Boop winking back at her from the cake stand. The chocolate silhouette was actually easier than I expected, and there's something deeply satisfying about piping chocolate onto parchment like you're back in art class. Everyone kept asking how I got the red so vibrant, and I happily shared my gel coloring secret like I was passing down family wisdom.
Ingredients
- Cake flour: This lower-protein flour creates that signature tender crumb that practically melts on your tongue, and I always sift it twice because nobody wants dry pockets in their velvet
- Cocoa powder: Just enough to give depth and that classic red velvet earthiness without overpowering the delicate flavor
- Red gel coloring: Gel is non-negotiable here because liquid coloring will throw off your batter chemistry and leave you with sad pink cake
- Buttermilk: The acidity activates the baking soda and creates those beautiful air pockets while keeping everything impossibly moist
- Cream cheese: Full fat and room temperature or you'll end up with lumpy frosting that nobody invited to this party
- Dark chocolate: The bitterness cuts through all that sweet frosting and makes the silhouette actually pop visually
Tired of Takeout? 🥡
Get 10 meals you can make faster than delivery arrives. Seriously.
One email. No spam. Unsubscribe anytime.
Instructions
- Prep your heart pans:
- The parchment paper circles are tedious but absolutely worth it when you're trying to flip those delicate heart shapes without tears
- Whisk the dry team:
- Sift everything together now so you don't end up with baking soda explosions in your final batter
- Cream butter and sugar:
- Let this go longer than you think you should because those air bubbles are literally the lift carrying your cake upward
- Add eggs one at a time:
- This is where patience pays off and keeps your emulsion from breaking into a curdled mess
- Pour in the color:
- Watch the batter transform into something that looks like it came straight from a bakery window
- Alternate wet and dry:
- Start and end with dry ingredients while keeping the mixer on low so you don't develop tough gluten strands
- The vinegar trick:
- Mix that last teaspoon of vinegar with baking soda and watch it foam like a tiny science experiment before folding it in gently
- Bake until just done:
- Check at 25 minutes because overbaked red velvet is a tragedy nobody deserves to experience
- Cool completely:
- I know you're impatient but warm cake melts frosting into a sad slide situation
- Make the frosting:
- Beat that cream cheese and butter until they're practically married before adding any sugar
- Stack and crumb coat:
- That thin first layer of frosting catches all the loose crumbs and makes your final coat look impossibly professional
- Pipe the silhouette:
- Work quickly but carefully because chocolate sets faster than you expect when it hits that parchment
- Final assembly:
- Place that chocolate beauty like you're handling a crown jewel and step back to admire your creation
 Pin This
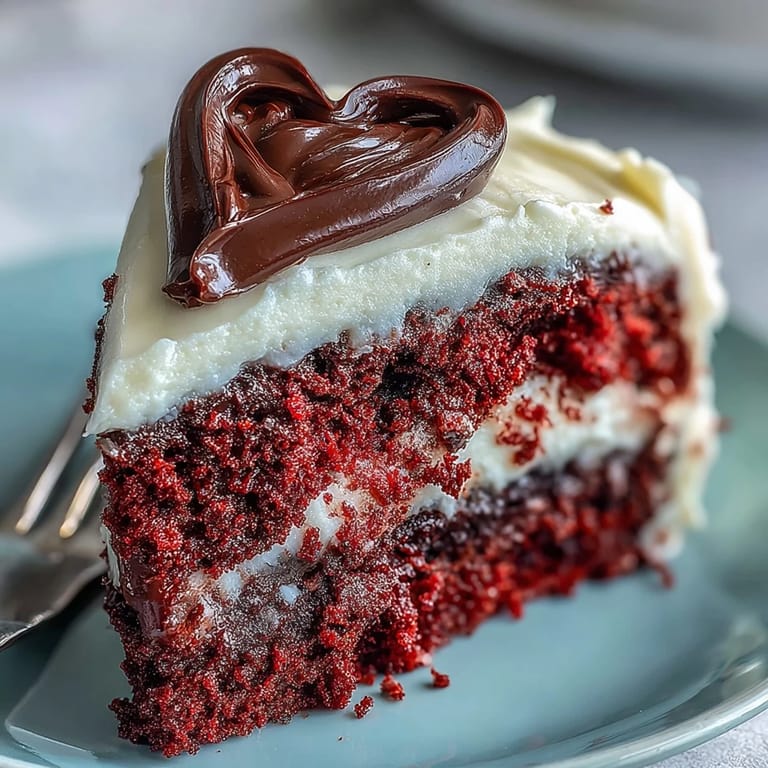
 My sister accidentally grabbed the chocolate silhouette before it was fully set and left fingerprints all over it, so we renamed that version 'abstract art Betty' and served it anyway because cake tastes better when you're laughing. The beauty of this recipe is that even your mistakes end up looking intentional and charming.
Making The Silhouette
I learned to tape my stencil to the counter underneath the parchment so nothing shifts while I'm working. Dark chocolate works best because it's more stable than white and shows up beautifully against all that red.
Getting The Perfect Red
Start with less gel coloring than you think you need because you can always add more but you can't take it back. That first drop hitting the white batter feels like magic every single time.
Serving And Storage
This cake actually tastes better on day two after the flavors have had time to become friends in the refrigerator. Run your knife under hot water and wipe it dry between slices for those picture perfect pieces.
- Let the cake sit at room temperature for 20 minutes before serving so the frosting softens
- Use a serrated knife and saw gently instead of pressing down
- Leftovers keep surprisingly well wrapped tightly in the fridge
 Pin This
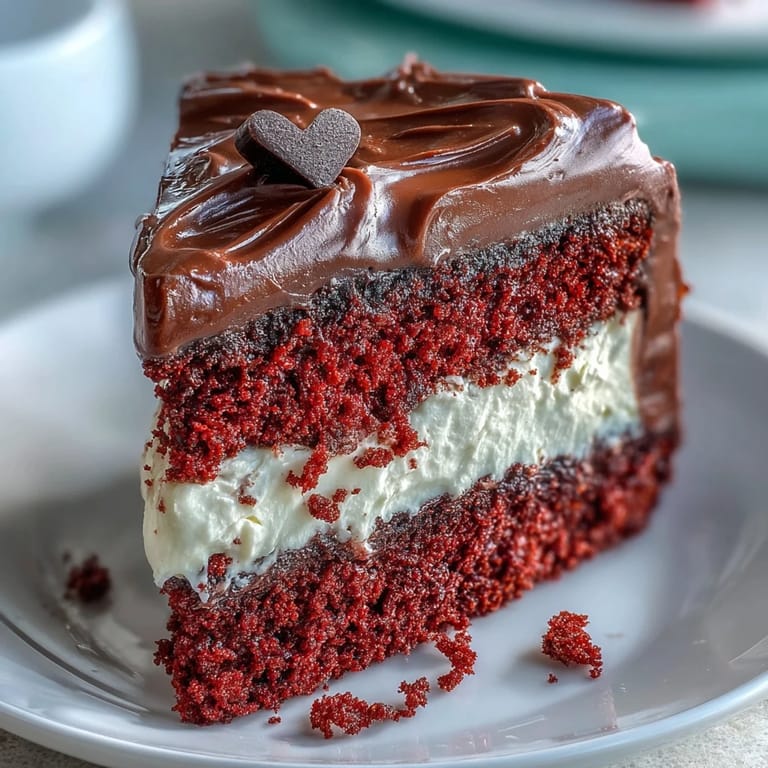
 There's something wonderful about serving a cake that makes people pause and smile before they even take a bite. This recipe turns kitchen time into a little bit of magic.
Recipe Q&A
- → Can I use regular cocoa powder instead of natural cocoa powder?
Yes, but natural unsweetened cocoa powder works best to maintain the vibrant red color. Dutch-processed cocoa can darken the batter and mute the red hue.
- → How do I prevent the cake layers from sticking to the pans?
Grease the pans thoroughly with butter or cooking spray, then line the bottoms with parchment paper cut to fit the heart shape. This ensures easy release after baking.
- → Can I make this cake in advance?
Absolutely. Bake the cake layers up to 2 days ahead, wrap tightly in plastic wrap, and refrigerate. Frost and decorate the day of serving for the freshest presentation.
- → What if I don't have heart-shaped cake pans?
Use two 9-inch round pans instead. Once baked and cooled, you can carve the rounds into heart shapes using a template, or simply layer and frost as circular cakes.
- → How do I create a smooth chocolate silhouette without breaking it?
Pipe the melted chocolate slightly thicker than you think necessary and let it set completely in the refrigerator. Peel gently from the parchment and handle with clean, dry hands to avoid fingerprints.
- → Can I use store-bought frosting instead of homemade?
Homemade cream cheese frosting provides the best tangy contrast to the sweet cake, but in a pinch, you can use a high-quality store-bought cream cheese frosting for convenience.